Aptean Mesh
In order to perform deployment of the Aptean Mesh extension, the following instructions must first be followed:
| Tool | Instructions |
|---|---|
| Prerequisites | Click here |
Azure Active Directory prerequisites
Aptean Mesh uses OAuth 2.0 for mobile authentication. The following Azure AD configuration is required:
- An active Microsoft Azure subscription linked to the Microsoft 365/BC tenant.
- Permission to register an Azure AD Application (Application Administrator or Global Administrator role).
- Azure AD App Registration with:
- A Client ID (Application ID)
- A Tenant ID (Directory ID)
- Mobile and desktop redirect URI configured
apteanmesh://auth - API permission: Dynamics 365 Business Central > user_impersonation
Create an App Registration
- In the Azure Portal, navigate to Microsoft Entra ID > App registrations.
- On the action bar, select + New registration.
- Enter a name for the App Registration (for example, Aptean Mesh).
- In the Supported account types field, select the appropriate option for the organization.
- Select Register.
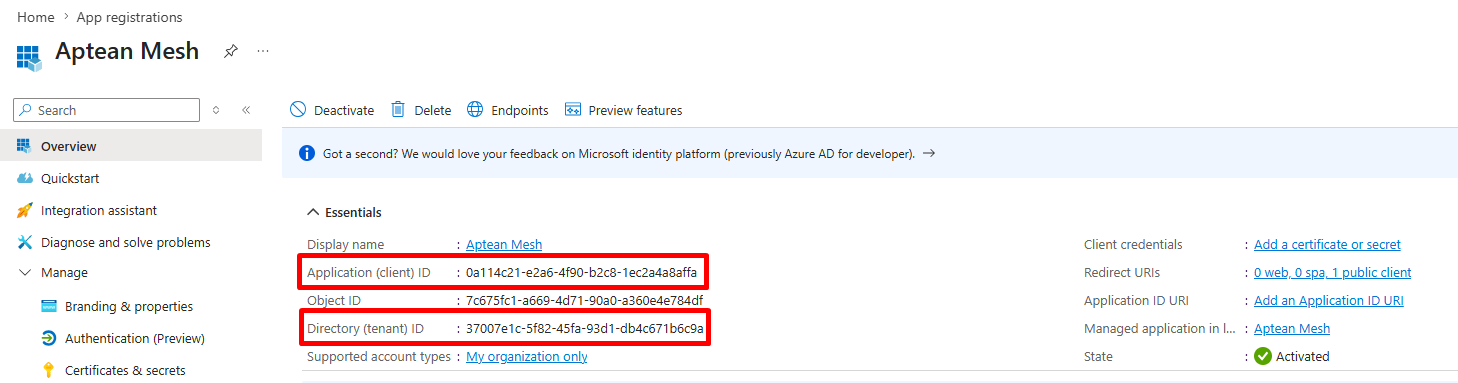
-
Save the Application (client) ID and Directory (tenant) ID for later use on the Mobile Setup (BC) page.
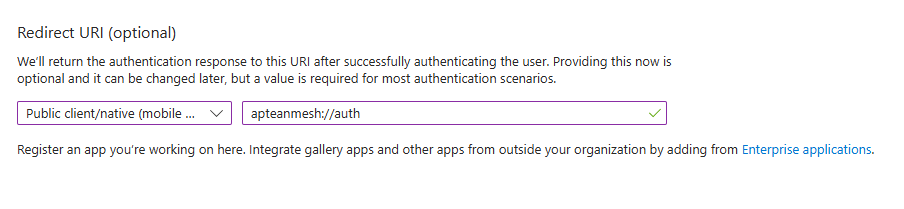
Configure the Redirect URI
- In the App Registration, on the navigation menu, select Authentication.
- Select + Add a platform and choose Mobile and desktop applications.
- In the Redirect URI field, enter:
apteanmesh://auth -
Select Configure.
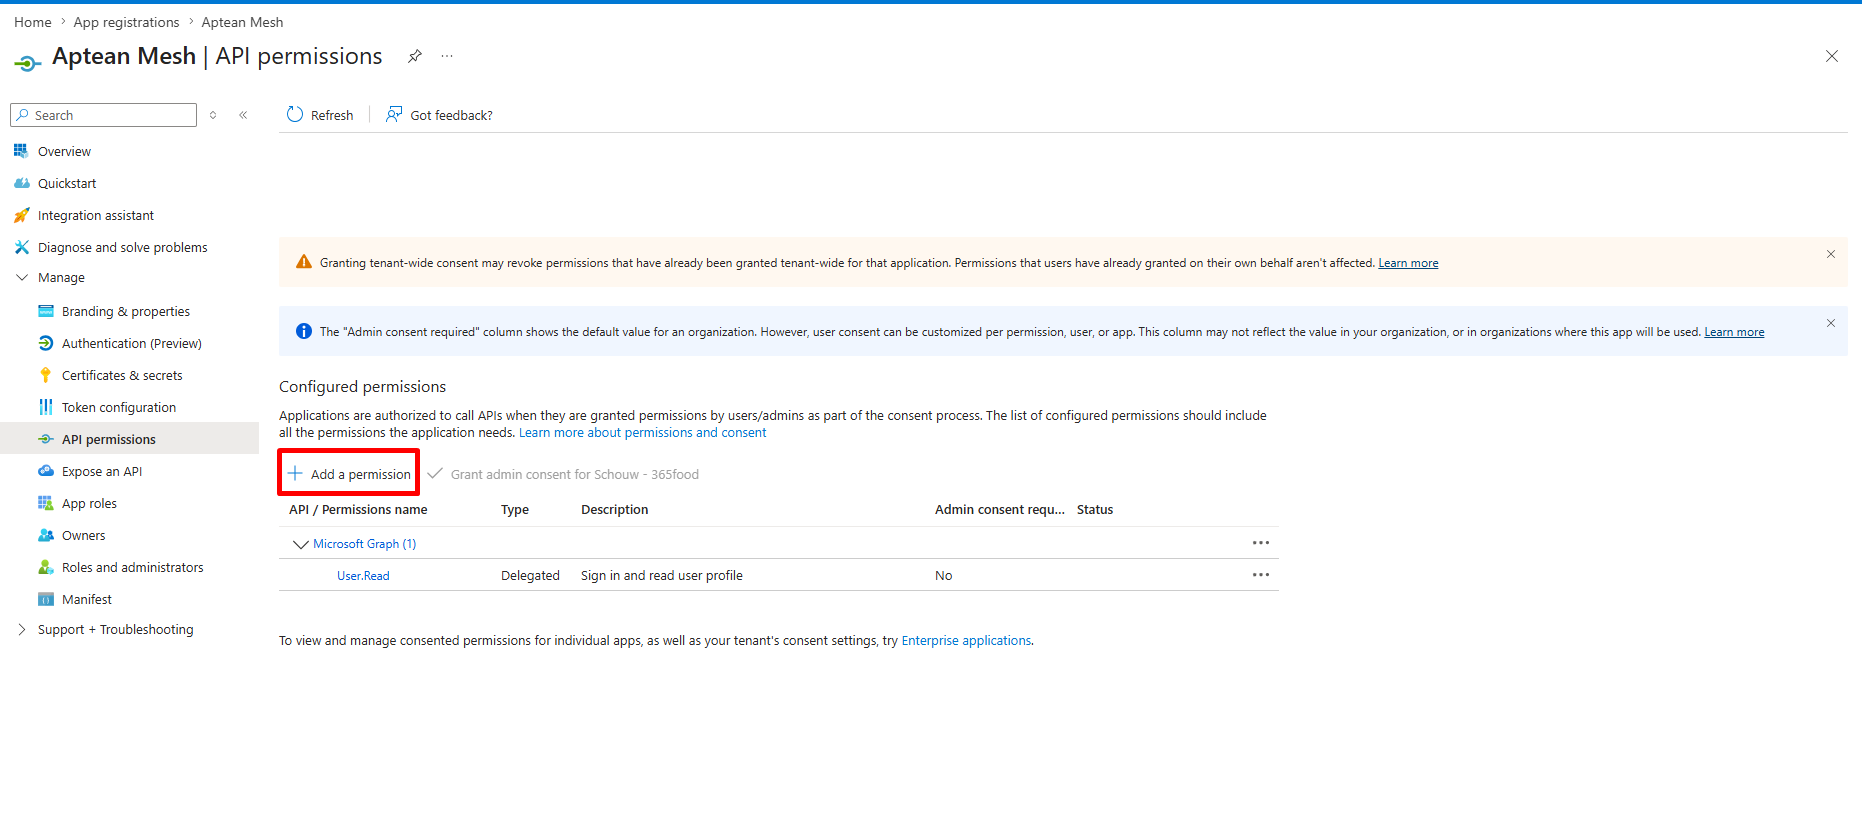
Configure API permissions
- In the App Registration, on the navigation menu, select API permissions.
-
On the action bar, select + Add a permission.
-
Select Dynamics 365 Business Central from the API list.
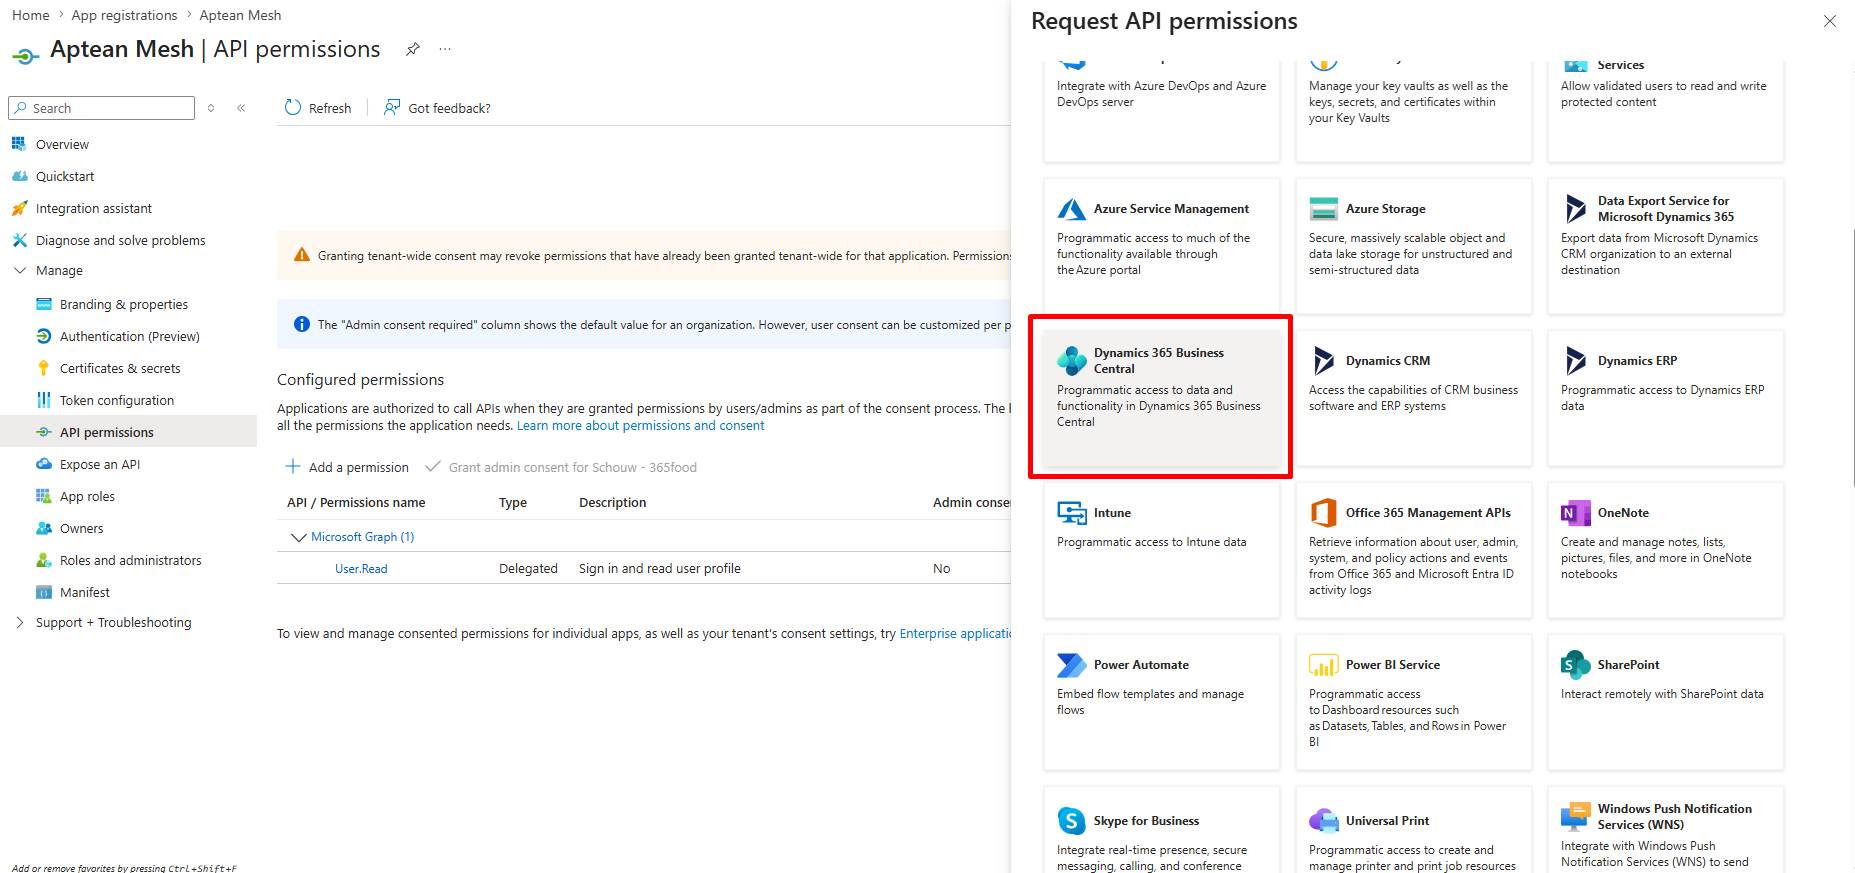
-
Select Delegated permissions and add the following permissions:
API Permission Type Dynamics 365 Business Central Financials.ReadWrite.All Delegated Dynamics 365 Business Central user_impersonation Delegated Microsoft Graph User.Read Delegated 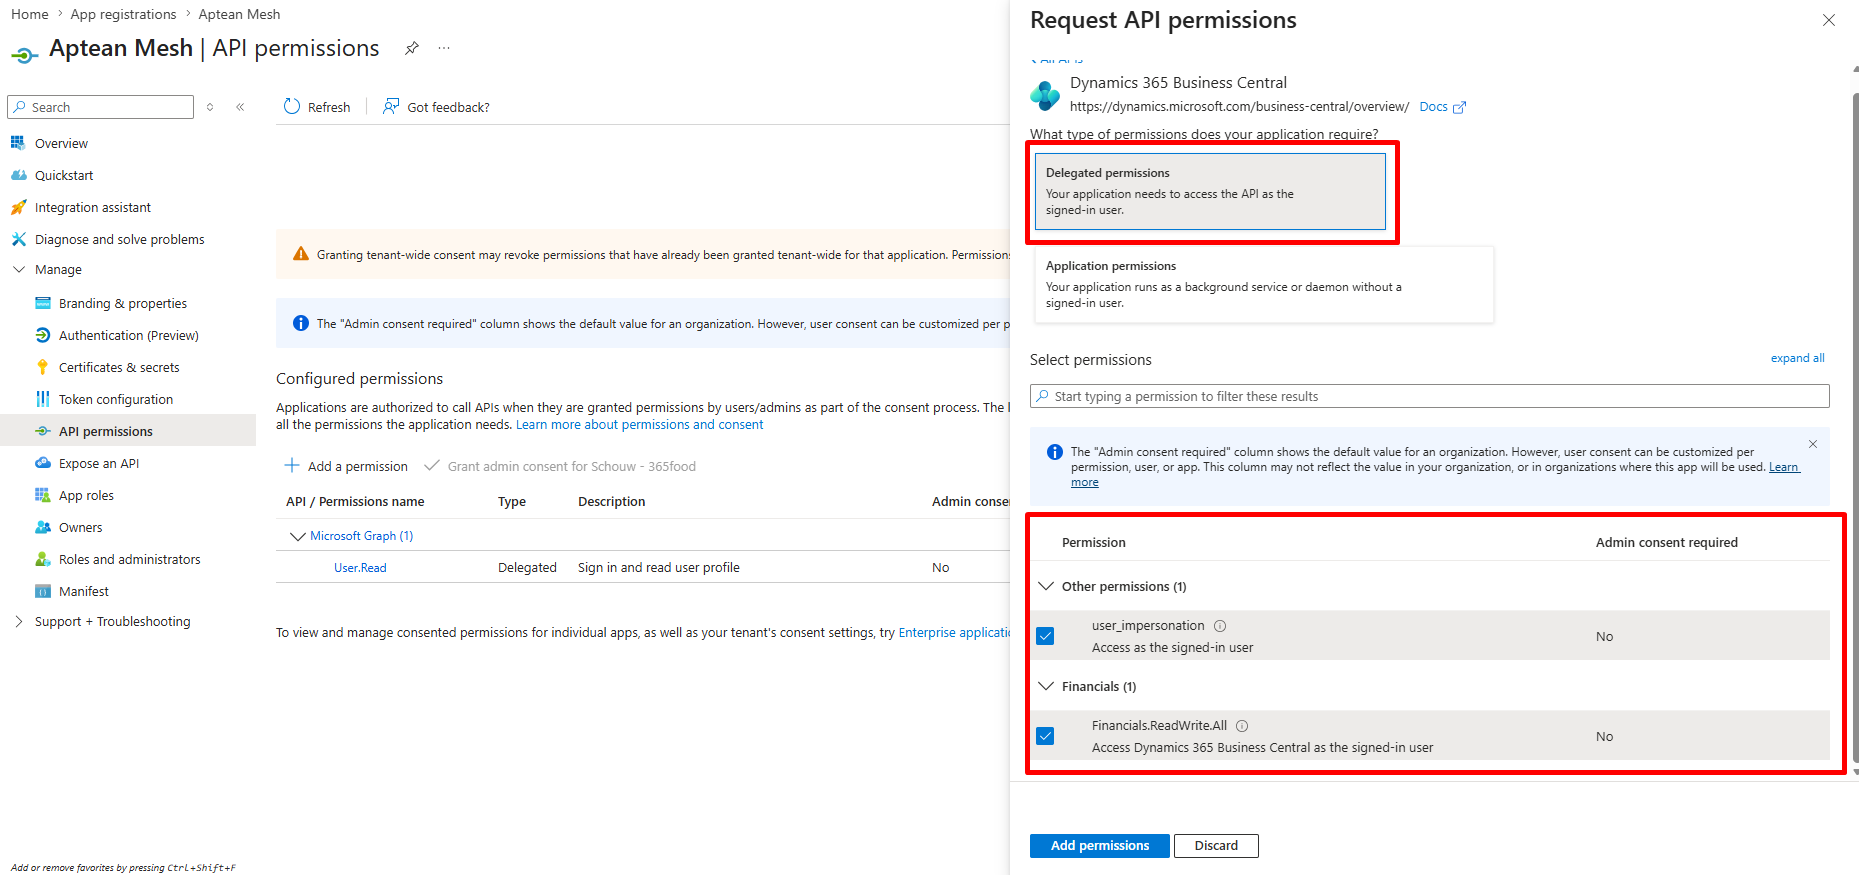
-
Select Grant admin consent for the tenant (administrator rights are required for this step). For more information, see Grant admin consent.
Register the application in Business Central
- In Business Central, search for Microsoft Entra Applications and open the page.
- Select + New to create a new entry.
- In the Client ID field, enter the Application (client) ID from the Azure AD App Registration.
- In the Description field, enter a name (for example, Aptean Mesh).
- Set the State field to Enabled.
-
On the User Permission Sets FastTab, add the following permission sets:
Permission Set Description Mesh220FDW Mesh (full access) MeshBasic220FDW Mesh Basic 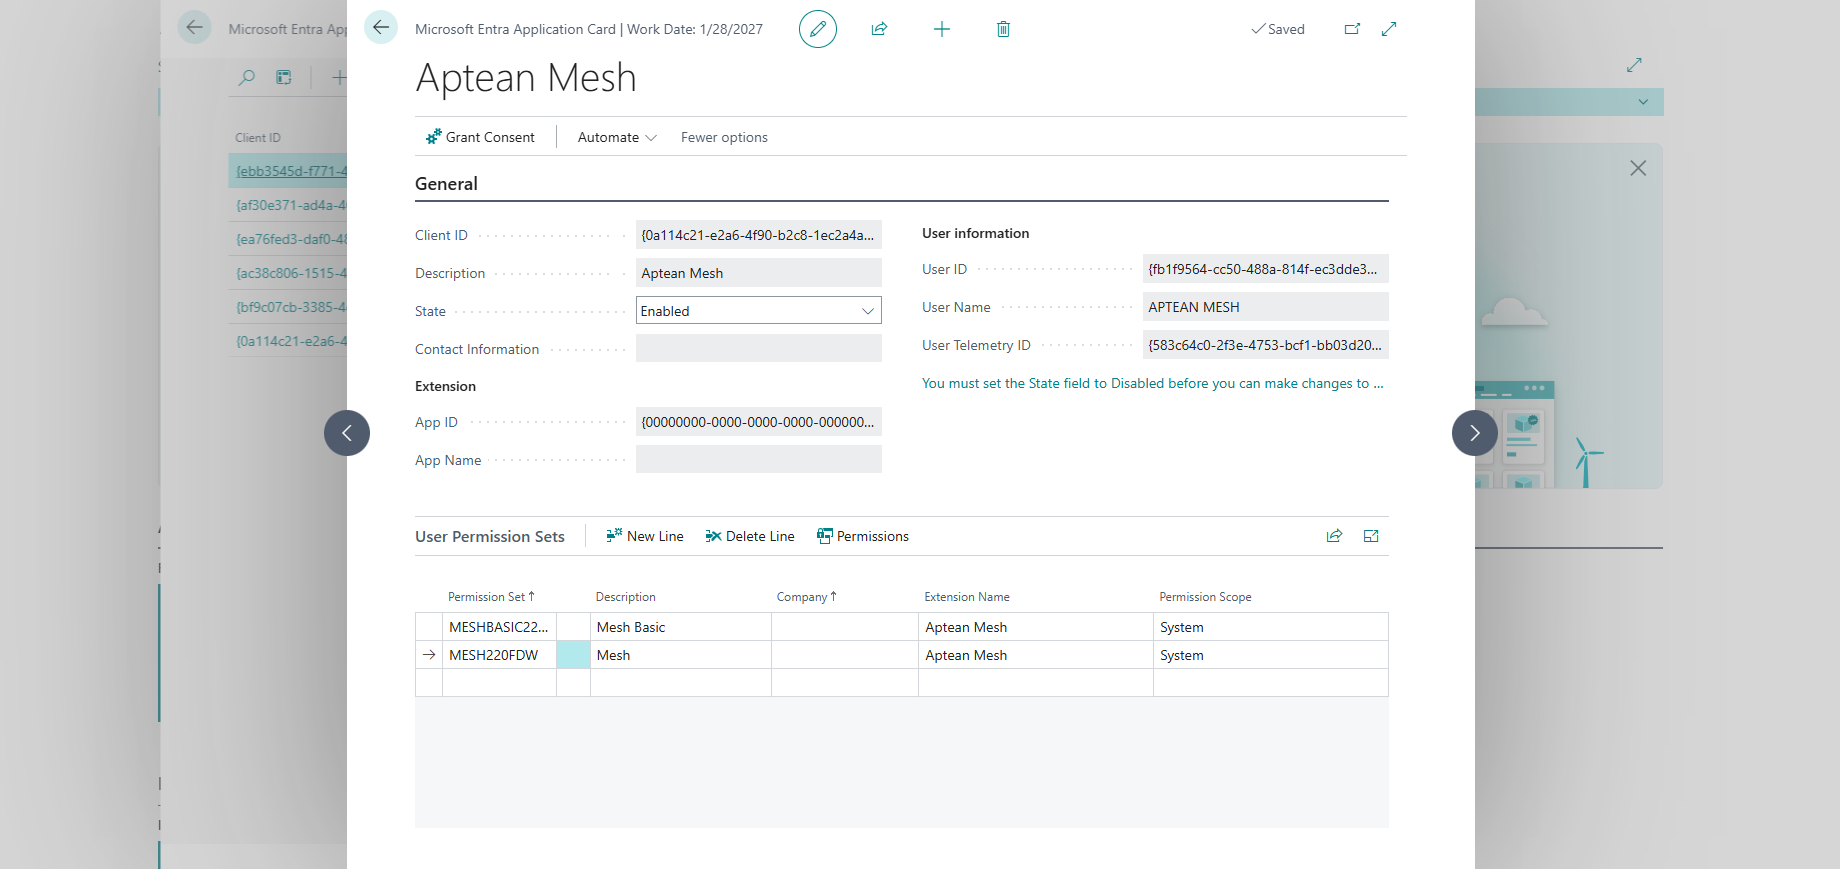
-
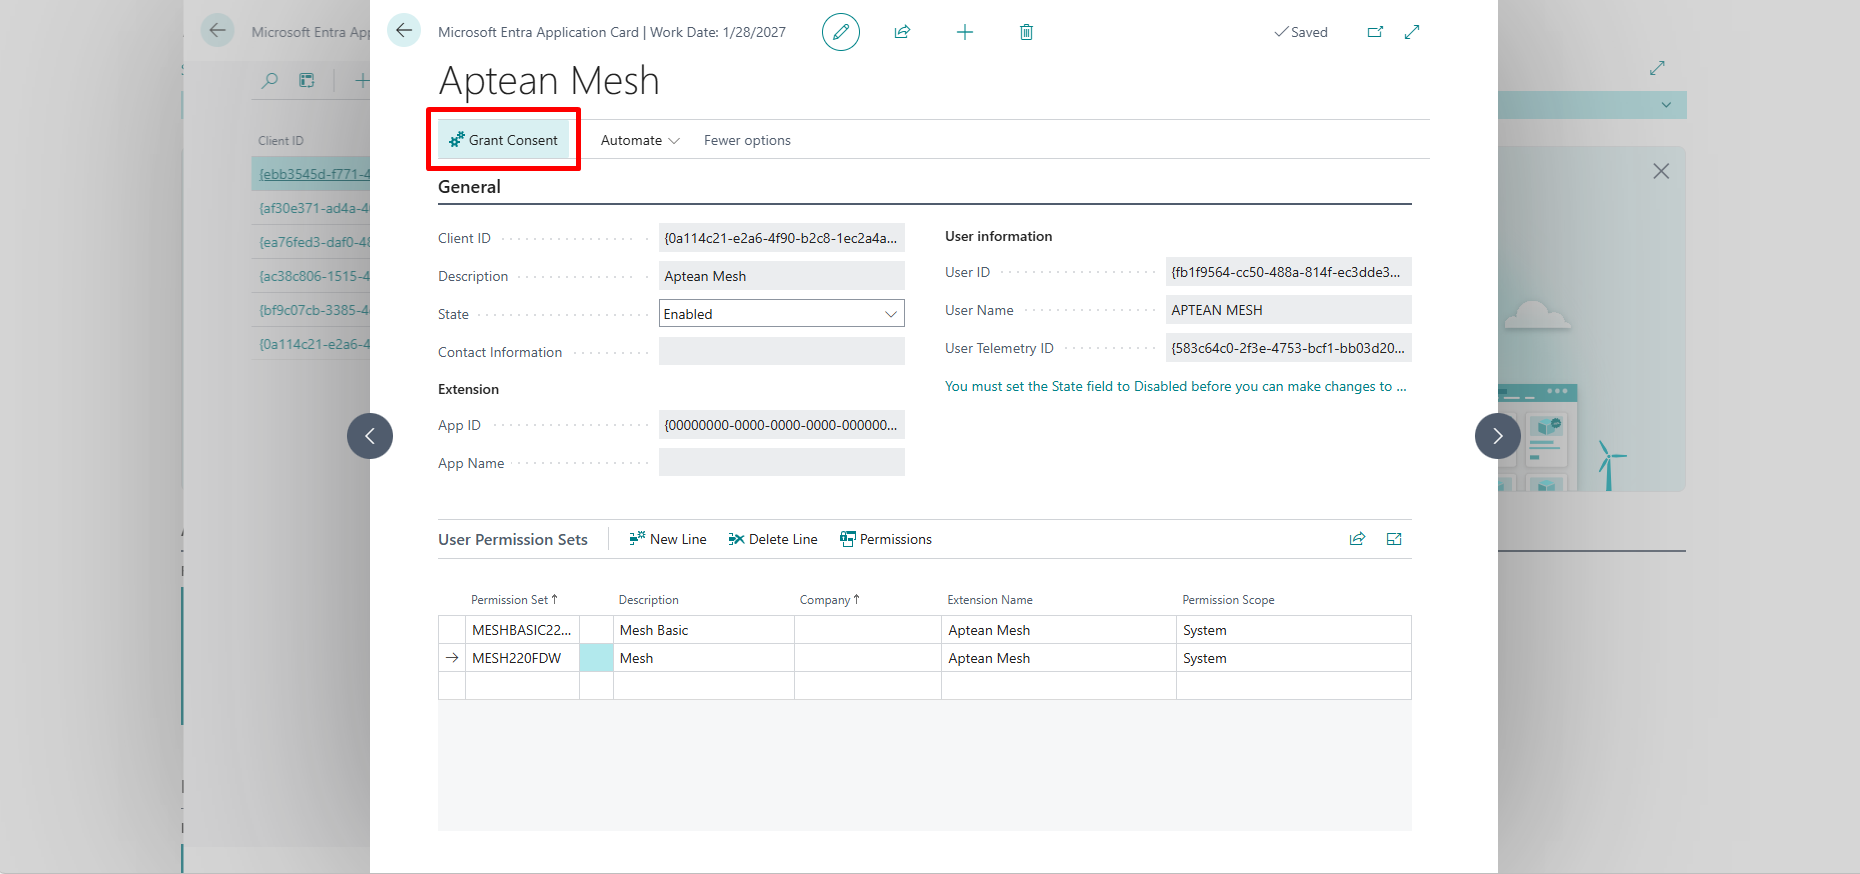
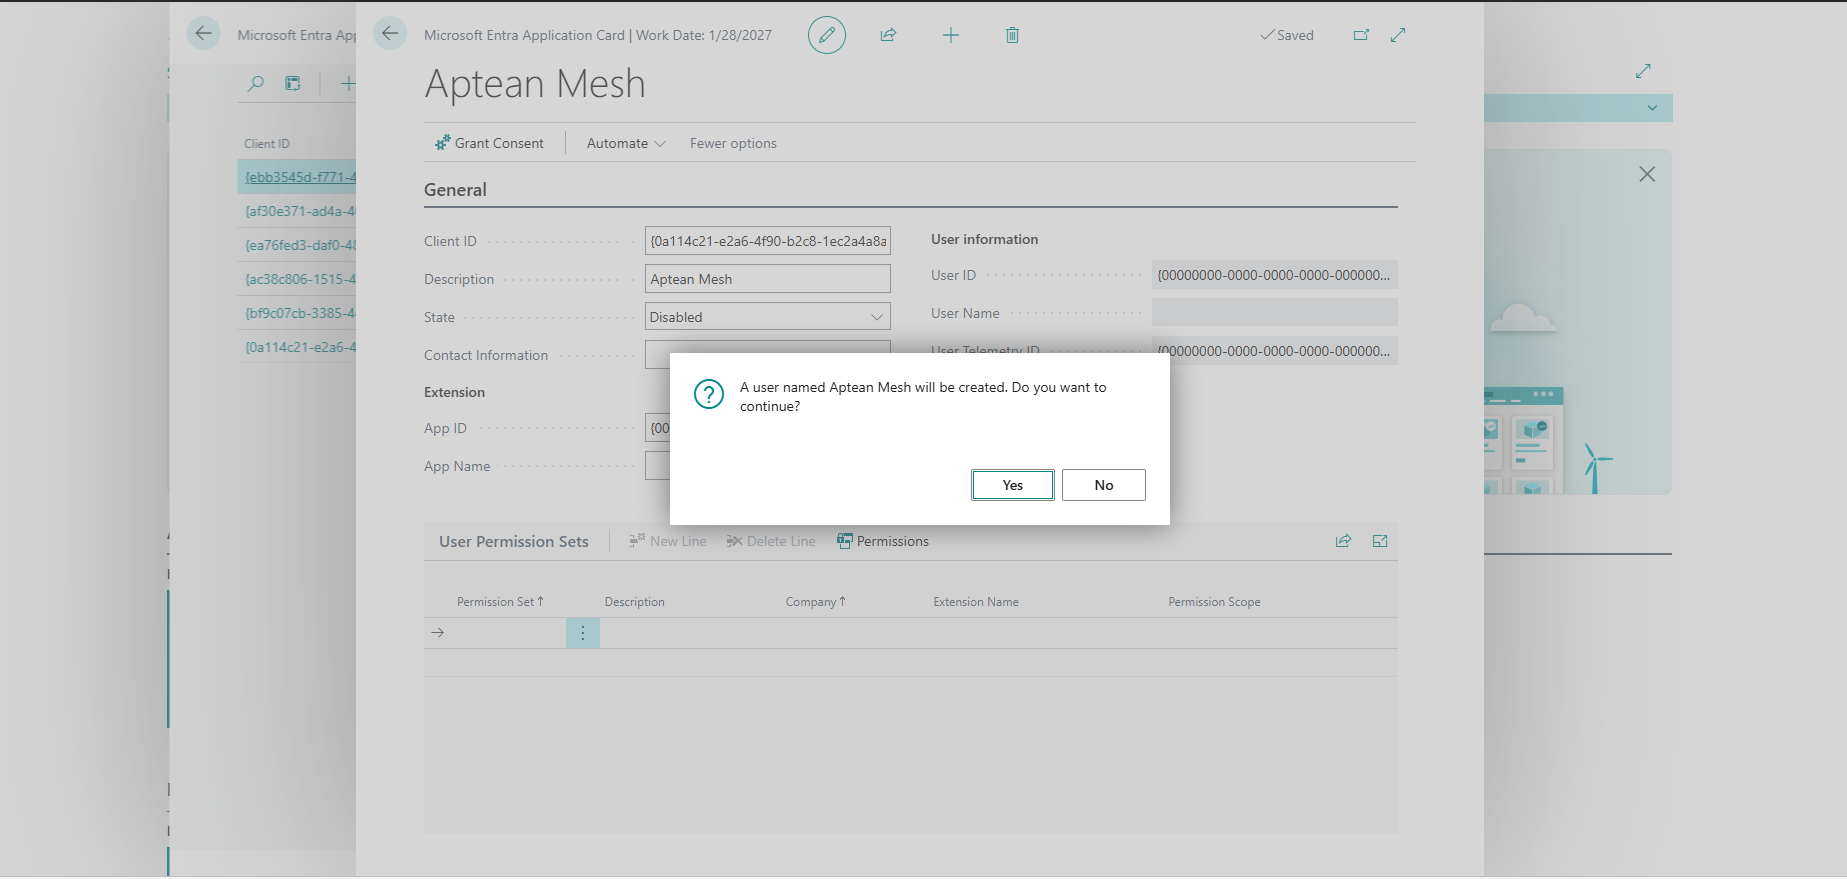
On the action bar, select Grant Consent and sign in with an administrator account to authorize the application.
Install the Mesh mobile app
The Aptean Mesh Android app can be downloaded from the Google Play Store and installed on mobile scanning devices.
Mobile app prerequisites
- Android 7.0 (Nougat) or later.
Configure the mobile app
On starting the Mesh app for the first time, the Setup screen appears where the connection details can be configured.
- In Business Central, search for Mobile Setup and open the page.
- In the Client ID field, enter the Application (client) ID from the Azure AD App Registration created earlier.
- The Mobile Setup page displays a QR code FactBox containing the tenant ID, client ID, API endpoint, and telemetry connection string.
- On the mobile device, scan the QR code from the Mobile Setup page using a barcode scanner, or enter the configuration details manually.
-
The app reads the QR code and populates the Settings screen with the tenant ID, client ID, and telemetry connection string.
-
On the Login screen, enter the company URL and select the Connect to Warehouse button to authenticate with a valid Business Central user account.
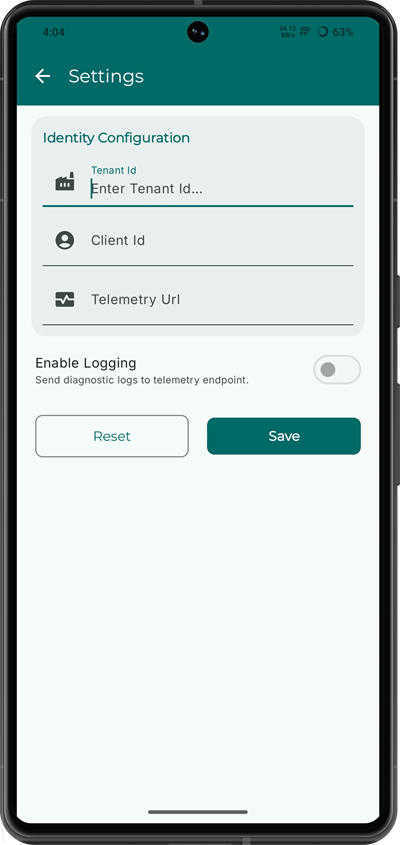
Settings screen
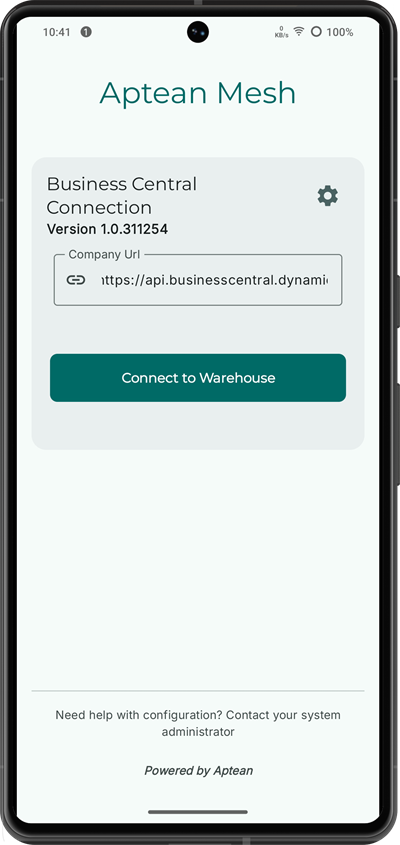
Login screen