Print labels
You can print labels from the following pages:
- Sales Order Header
- Sales Order Lines
- Warehouse Shipment Lines
- Warehouse Pick Lines
- Item Tracking Lines
- Purchase Order Lines
- Warehouse Receipt Lines
- Inventory Pick Header
- Inventory Pick Lines
- Inventory Put Away Lines
- Purchase Return Order Header
- Transfer Order Header
- Transfer Order Lines
- Lot No. Information List
- Lot No. Information Card
- Production Order Lines
- Item Journal Page
- Production Journal
- Output Journal
- Consumption Journal
- Assembly Order Header
- SSCC Page (Only if the SSCC extension is installed)
- SSCC List (Only if the SSCC extension is installed)
- Quick Production Entry (Only if the Aptean Quick Production extension is installed)
Additional printing options will be accessible based on the installed extensions. For example, the Aptean Shop Floor Production, Mobile Warehouse Registration, and other supported extensions.
In the description below, an example is given of printing a label from the Item Tracking Lines page.
Open the item tracking lines on a sales order.
- On a Sales Order, on the Lines FastTab, on the action bar, click More options.
- On the action bar, click Line > Related Information > Item Tracking Lines.
The Item Tracking Lines page opens.
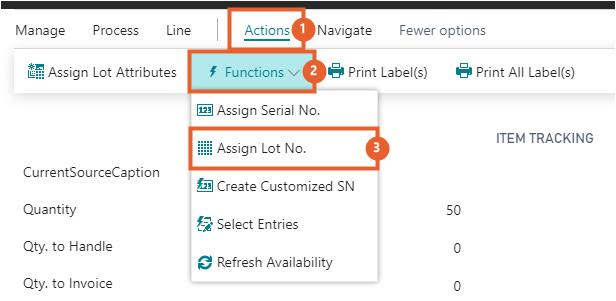
Assign a lot number. -
On the action bar, click Actions > Functions > Assign Lot No.
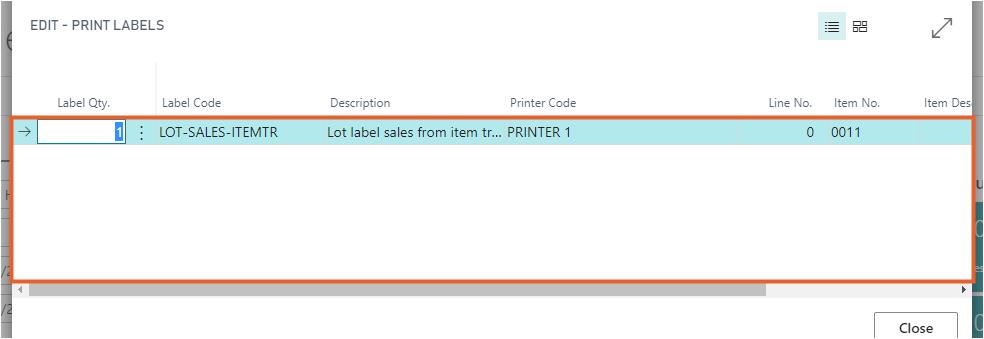
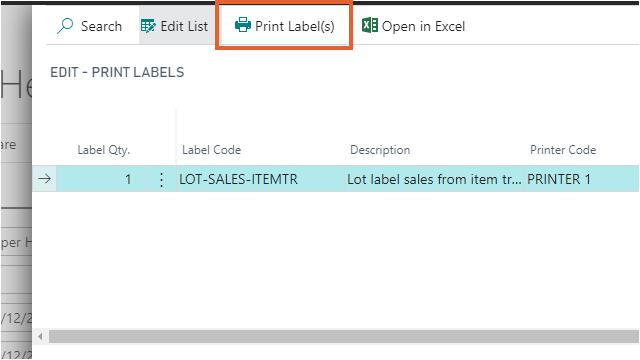
- On the action bar, click Actions > Print Label(s)
When executing the Print Label(s) function, the labels will be printed for the selected line.
The system generates the report in a PDF format after executing this action only when the Output Option field is set to Report on the Label page. And the fields in the report can be configured based on the Report Label Fields page.
When executing the Print All Label(s) action, the labels will be printed for all item tracking lines. This function is only available on the Item Tracking Lines page.
If the Print Dialog toggle is turned on in the Label Setup, a print dialog will be shown, otherwise the label(s) will be printed immediately.
Print label(s) for all lines
When using the Print Label(s) for all lines action from the document header of the Purchase Order, Sales Order, or Transfer Order page, the system prints labels for all associated line items in a single action.
- On the Purchase Order page, on the action bar, select Print/Send > Print Label(s) for All Lines.
The Print Labels page opens. - On the action bar, select the Print Label(s) action.
Labels are printed for all items.
When the shortcut key Alt+K is used, the system directly triggers the Print Label(s) for all lines action from the document header, allowing faster execution of label printing.
Print dialog
The print dialog is shown if the Show Dialog toggle is turned on, on the Label card page. If the toggle Show Dialog is turned off, the labels will be printed immediately depending on the settings. In the print dialog it is possible to select another printer code or change the label quantity. If the label quantity is 0, no label(s) will be printed.
-
On the action bar, click Print Label(s).
If an error occurs during printing, a notification shows that the label printing failed. The error message is also displayed in the label output files. See Label output for more information.
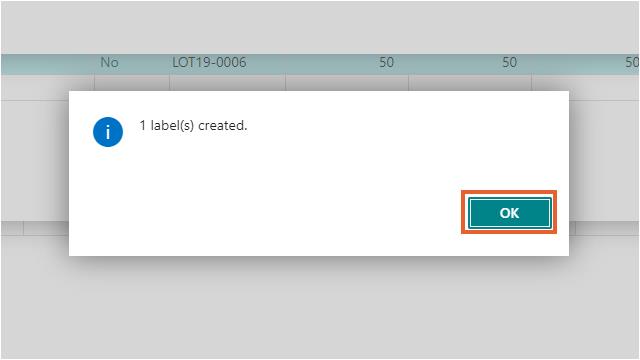
- Click OK.
Assign report layout
To assign a report layout to labels, follow these steps:
- Select the Search icon
 , enter the Labels page, and then choose the related link.
The Labels page opens. - On the General FastTab, in the Output Option field, select Report.
- In the Report ID field, select 70238144.
- In the Report Layout field, select the required code as A4.
- The commonly supported label paper sizes include A4, Letter, A5, A6, A6 (4×6), and A5 (6×8).
- You can use barcode fonts directly in the report layout to print barcodes without additional setup.
- When the Report ID field value is set to Report on Label page, the Printer Name field value can be modified.
- When the Report ID field value is set to Label Output File, the Printer Code and Printer Setup Code field values can be modified.